Art in our classroom
Here in the school we love to experiment with all sorts of visual arts techniques.
Lino Printing:

Lino Printing is similar to woodcut printing which was used in the 5th century in China. Woodcuts of images on paper developed around 1400 in Europe.
To make a lino print the artist draws a design onto the lino (or onto paper which is then transferred on to the lino).
Using a lino cutting tool the the artist then carves away the parts of the block which will not receive ink.
With a roller a layer of printing ink/paint is applied to the lino and then paper is pressed against the block. Lots of different coloured inks will produce the same picture in many colours.

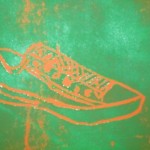
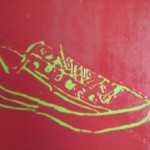
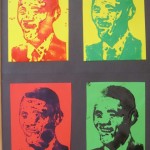
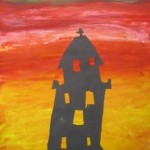
") Emma put the first colour down (black)
Emma put the first colour down (black)
Then she added the second colour (yellow) the following day. ")
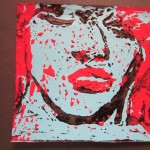
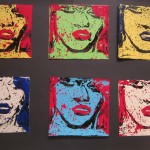
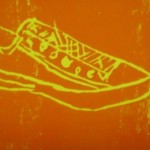
Here are a few of her finished New York city scenes:
")
")
")
")
")
Silk Screen printing:

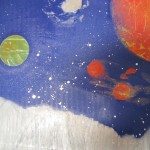
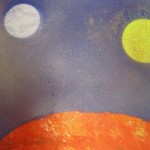
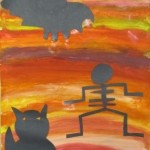
Spray Painting:

Drawing:

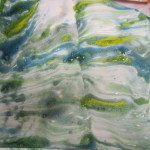
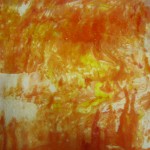
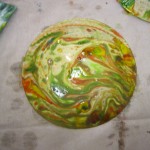
Marbling:
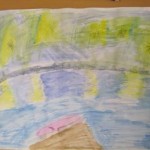
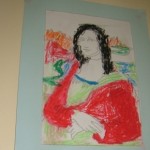
Painting:

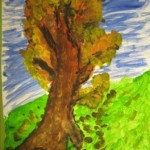


One of our students made a lovely frame for a piece of still life she had drawn.

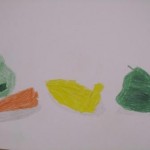
Fabric and Fibre:
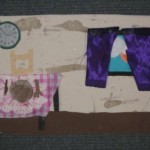
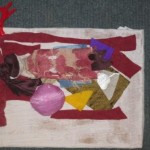
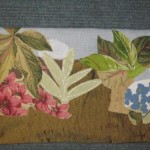
All sorts of materials can be used to make Fabric and Fibre scenes. Useful materials to collect for this type of activity are: old bags, material scraps, broken Jewellery, sequins, wire, beads, paper clips, buttons, clothes pegs, ribbon, corks….the list is endless!!!! Each of these scenes were backed onto a piece of cardboard to give it shape.


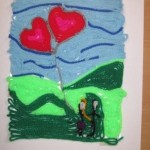
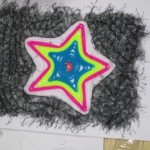
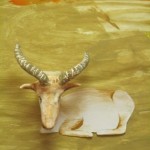
Wool Painting:
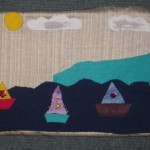
Wool painting is found all over the world. The Huichol Tribe from Mexico make traditional paintings about their lives using wool. Cayce Zavaglia is a modern day artist who uses wool to make portraits of people. Wool is a very interesting material to work with. In these pictures you can see the wool paintings we made. The wool is stuck onto sticky back plastic the kind you can use to cover books. The pictures turn out well if you don’t leave any gaps in the backing and use the longest continuous piece of wool that you can.
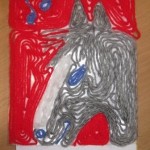


 “My Dog” By: Aisling
 “The Sea” By: Kaya
Clay modelling:
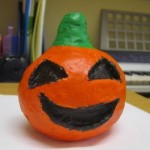
Libby made a clay mask by rolling out a slab and then adding more clay onto the surface of the slab.


Stitching:

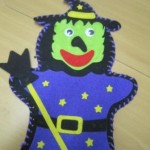
These puppets were made using a running stitch.
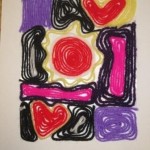
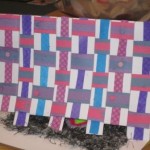
Weaving:
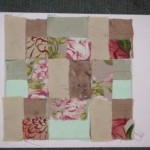
Paper weaving can look really impressive when it is finished. Yet if you follow a step by step guide it isn’t as hard to create as you would think!
First fold an A3 sheet of coloured card. Then measure out strips on your folded card making a pattern using different widths e.g. 1cm, 1cm, 2cm, 1cm, 1cm, 2cm etc. This is your warp. The warp is the vertical strips. Cut the warp to the bend in the sheet. Next decorate with patterns or card. Now measure out the Weft strips, the horizontal strips, on an A4 card. Try to create a sequence with the weft strips too. Decorate with patterns. Now weave the weft into the warp strips. Start off with 1 under, 1 over, 1 under, 1 over technique. (As you become more accomplished with weaving you can try many other combinations. ) Weft strip number 2 must start on the opposite weave to number 1.

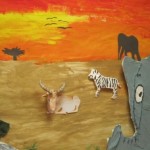
3-D Construction:

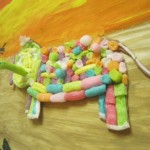
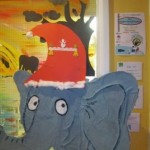 This is a PapierMaché elephant
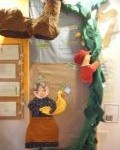 Our Jack & Jill display includes papier maché giant’s boot and even Jack has a papier maché head.


Evan read the story of Jack and the Beanstalk and decided to make a 3D beanstalk out of building noodles and put a Giant at the top with Jack. He placed the whole thing on blue card and added cotton wool to represent the clouds.

Paper art and Origami:


We made Father’s Day cards to look like creels used by fishermen to hold their catch.


Rebecca while studying about the Ancient Greeks made this lovely mosaic. First she planned the design pattern then she created her colourful mosaic.


Easter Art:


Glass Art:
Chloe made some lovely Glass Art for us. They are very pretty pieces of work.


